Hexo博客01-使用GitLab搭建博客
本文介绍如何使用GitLab与Hexo搭建博客网站
搭建环境:
- 操作系统:Windows 11
- Node.js版本:Node.js v20.17.0
- Git版本:git version 2.44.0.windows.1
- 时间:2024-09-24
1. 环境安装
1.1 安装Node.js
Node.js下载地址:[Node.js各版本国内镜像](CNPM Binaries Mirror (npmmirror.com))
一路next即可。
1.2 安装Git
Git下载地址:Git-Download for Windows
一路next即可
2. 本地Hexo
管理员身份打开cmd窗口。
2.1 安装Hexo
输入npm install hexo-cli -g命令,安装Hexo。
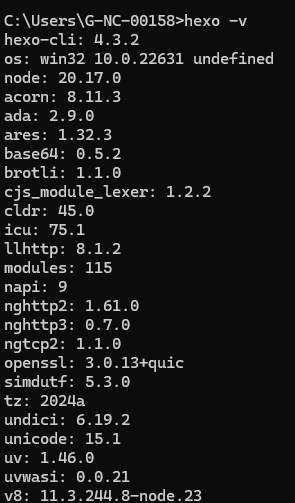
安装完成后输入命令hexo -v,能够查看Hexo版本即为安装成功。
2.2 创建本地Blog仓库
继续在该窗口操作。
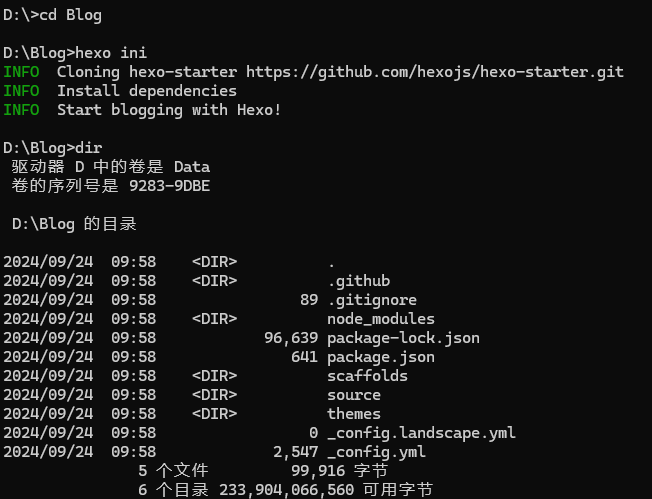
创建一个空文件夹Blog,在该路径下输入hexo init命令,初始化Hexo博客项目。
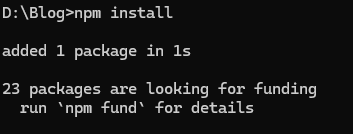
输入npm install命令,安装依赖。
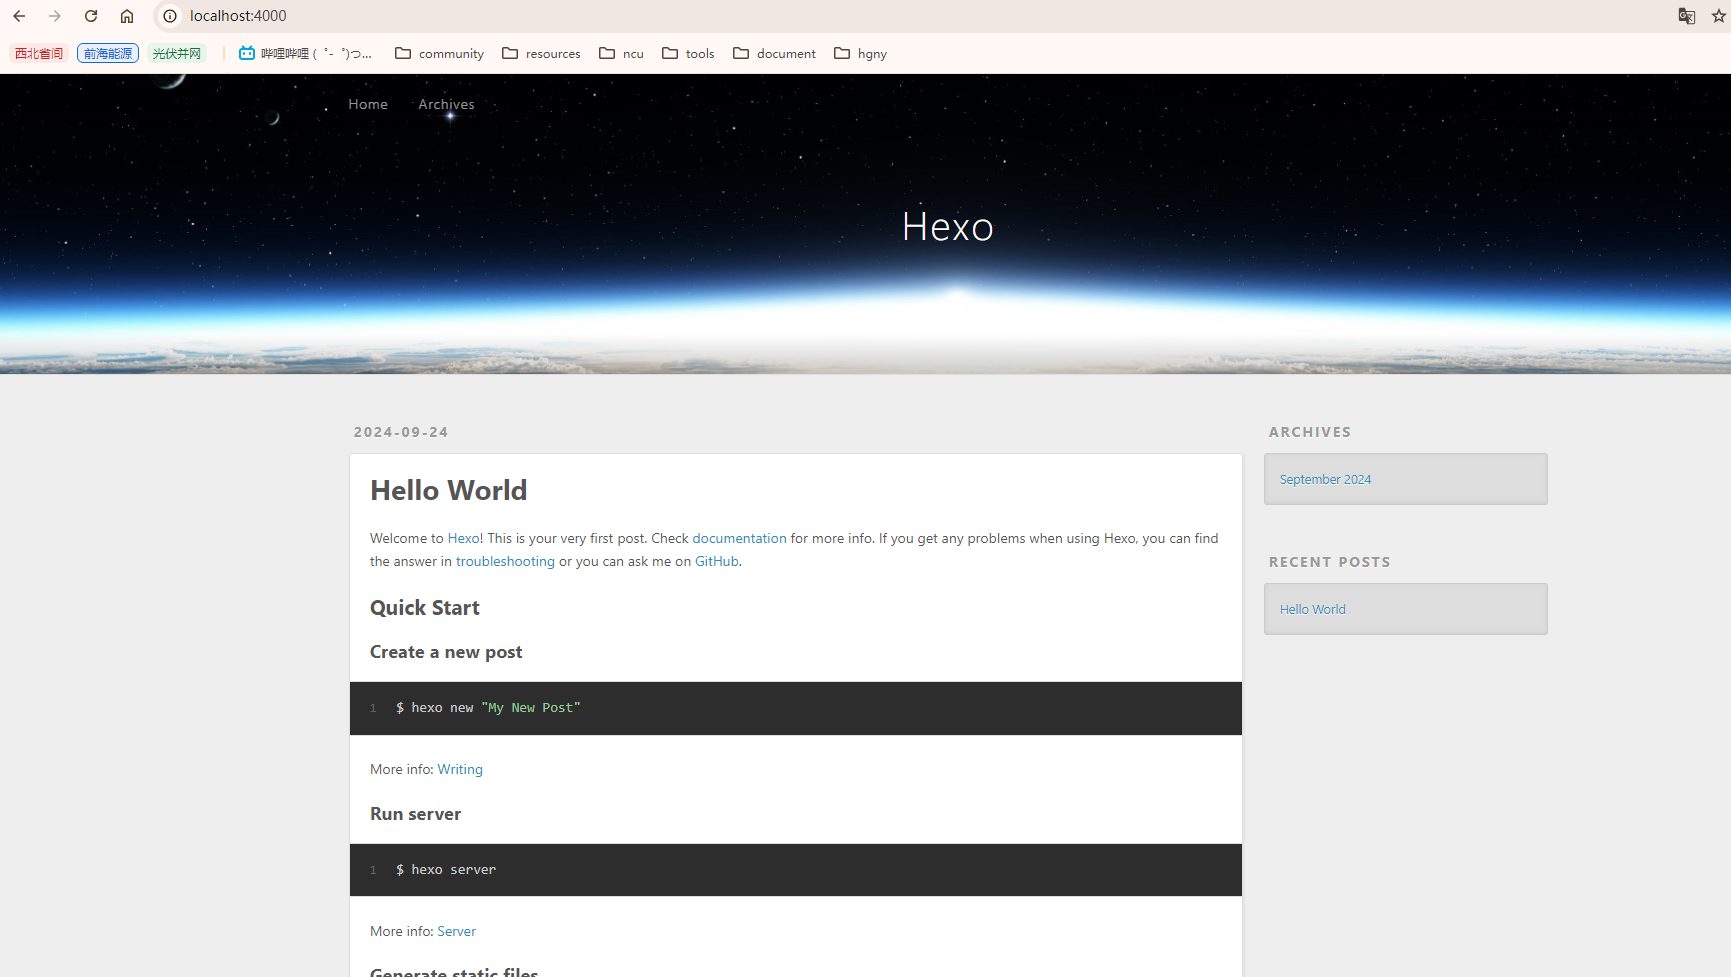
输入hexo server启动Hexo博客,在浏览器输入http://localhost:4000/访问项目。

3. GitLab
3.1 创建远程仓库
在GitLLab上新建一个空白仓库,命名为<你的 GitLab 用户名>.gitlab.io,这样才能通过<你的 GitLab 用户名>.gitlab.io域名访问博客。

3.2 安装私有GitLab-Runner
GitLab Runner是一个开源的应用程序,用于在GitLab CI/CD中执行自动化构建、测试和部署任务。
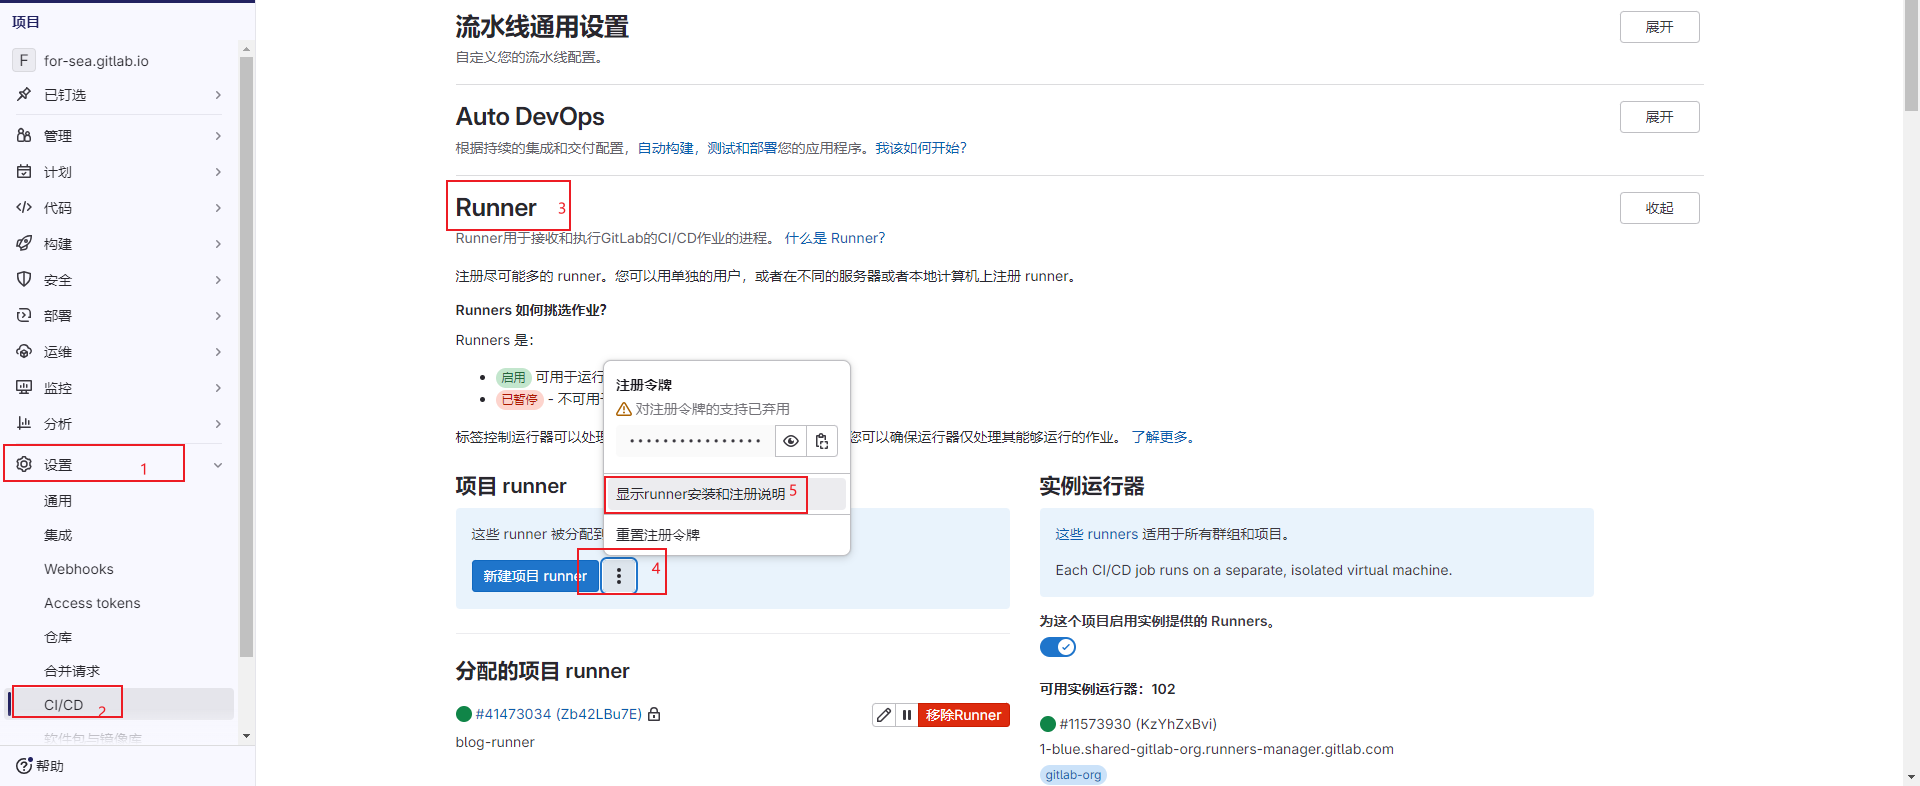
进入项目->设置->CI/CD->Runner->项目Runner->显示runner安装和注册说明,按照说明提示进行操作:
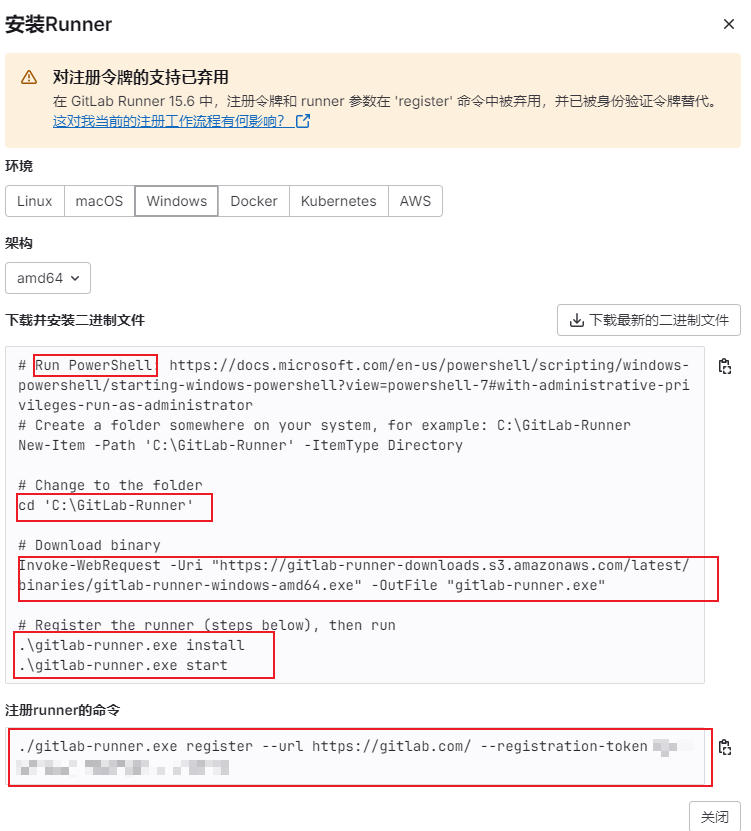
新建一个GitLab-Runner文件夹,以管理员身份打开PowerShell,进入该文件夹,依次执行以下命令:
1 | # 下载gitlab-runner.exe |
最后执行注册runner的命令,直接复制粘贴即可:
1 | ./gitlab-runner.exe register --url https://gitlab.com/ --registration-token XXXXXXXXXXXXX |
依次输入URL(https://gitlab.com/)、token(直接回车)、Runner命名(blog-runner)、executor输入shell。
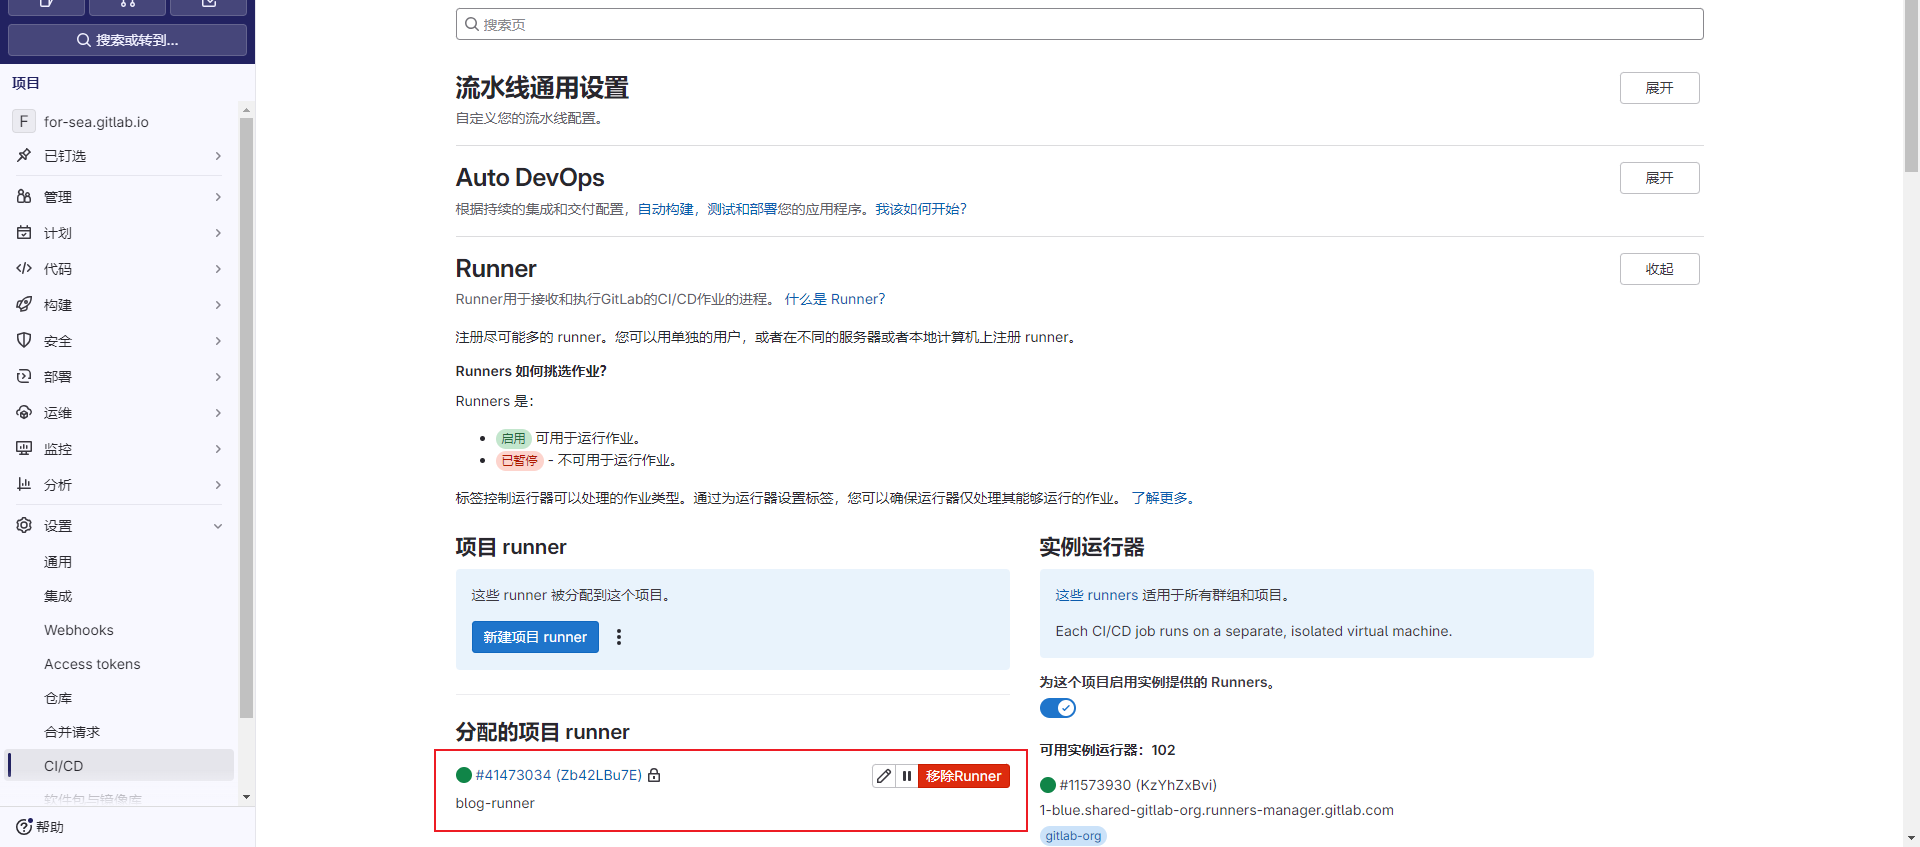
执行完毕后,在GitLab的项目下看到Runner为绿色即为连通状态。
4. 提交Blog
4.1 创建.gitlab-ci.yml脚本
进入Blog根目录,新建.gitlab-ci.yml文件,这个脚本文件是在提交到GitLab后执行的,内容如下:
1 | image: node:20.17.0 |
4.2 提交到GitLab
进入Blog根目录,依次执行以下命令:
1 | git init |
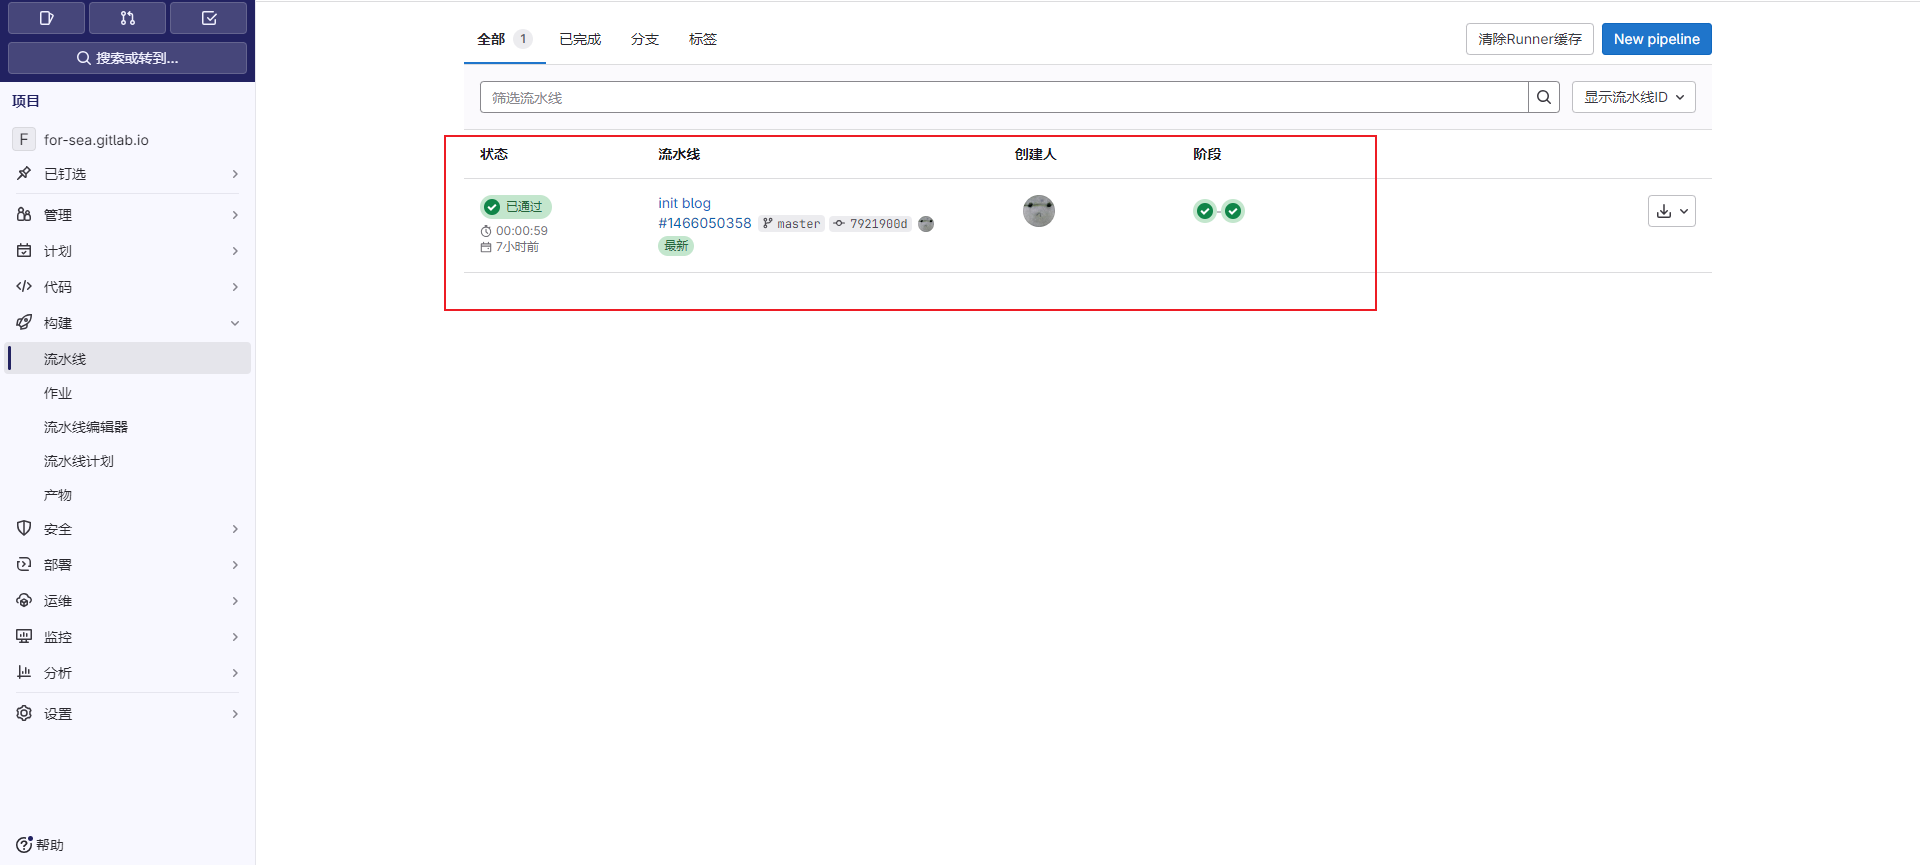
提交完毕后,等待GitLab CI/CD执行.gitlab-ci.yml脚本,执行结果可以在项目->构建->流水线查看,如下:
然后等待一段时间,在浏览器输入<你的 GitLab 用户名>.gitlab.io即可访问Hexo静态博客页面:
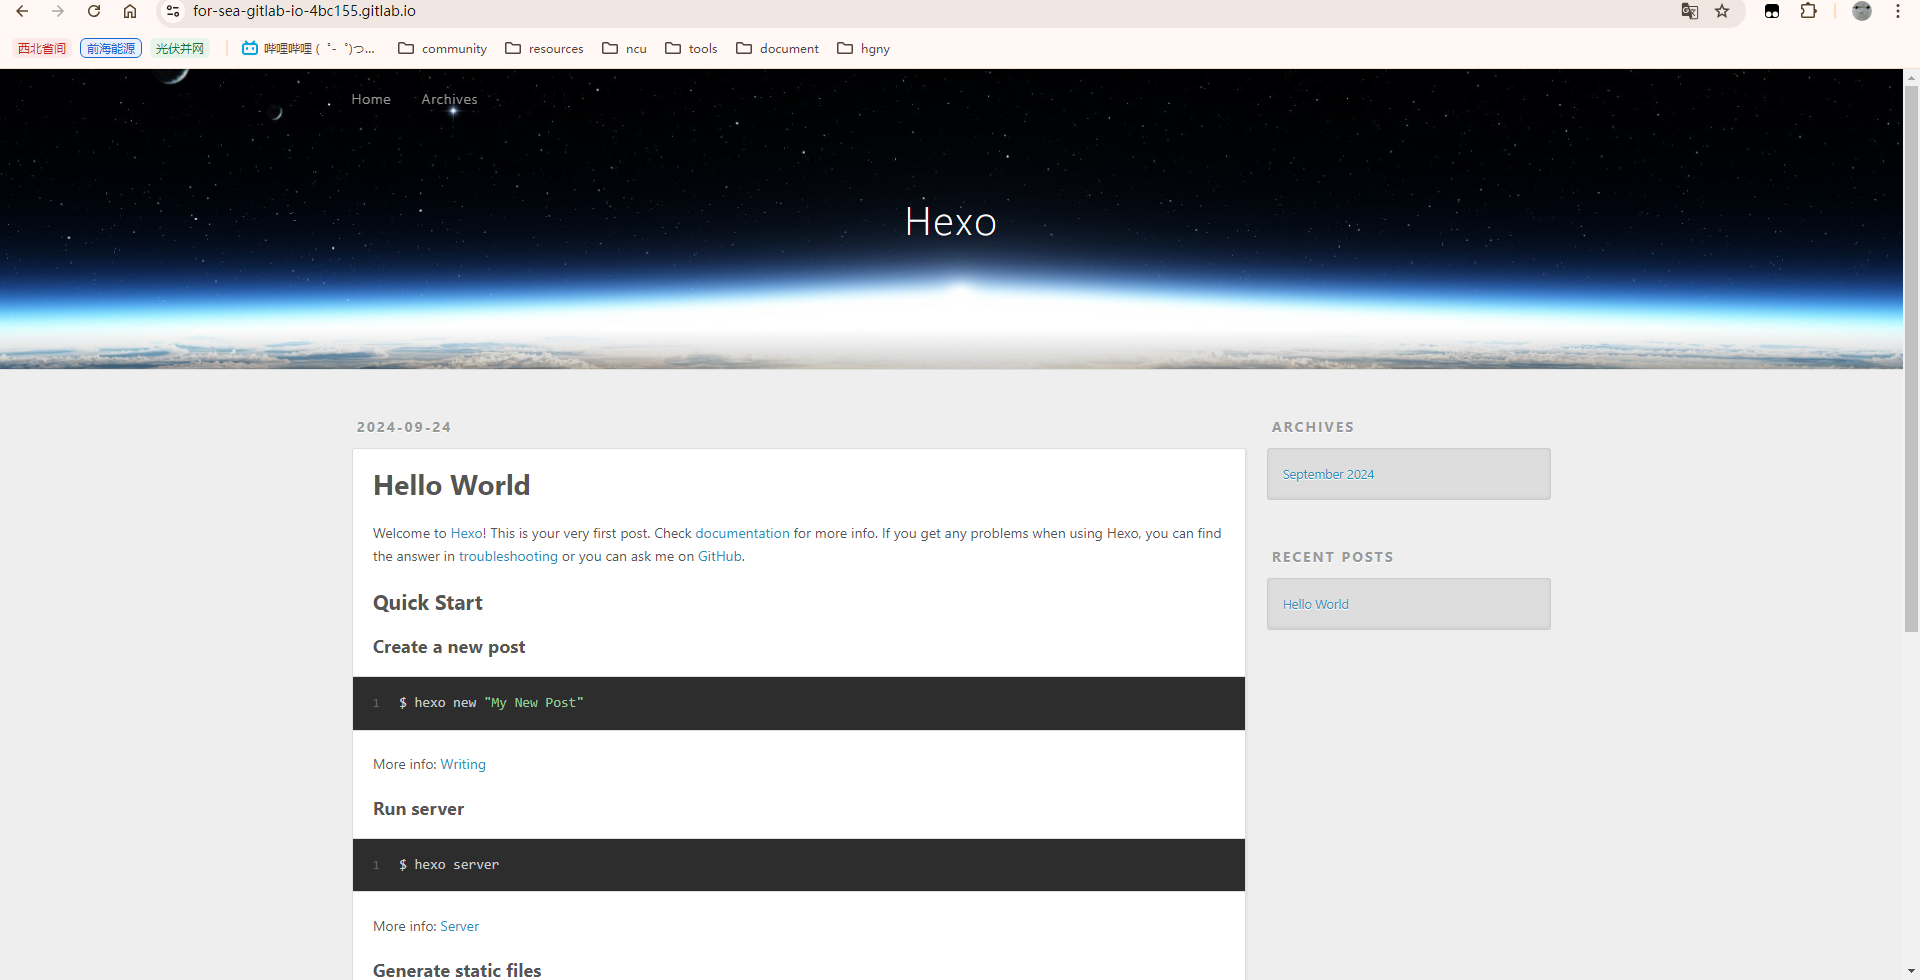
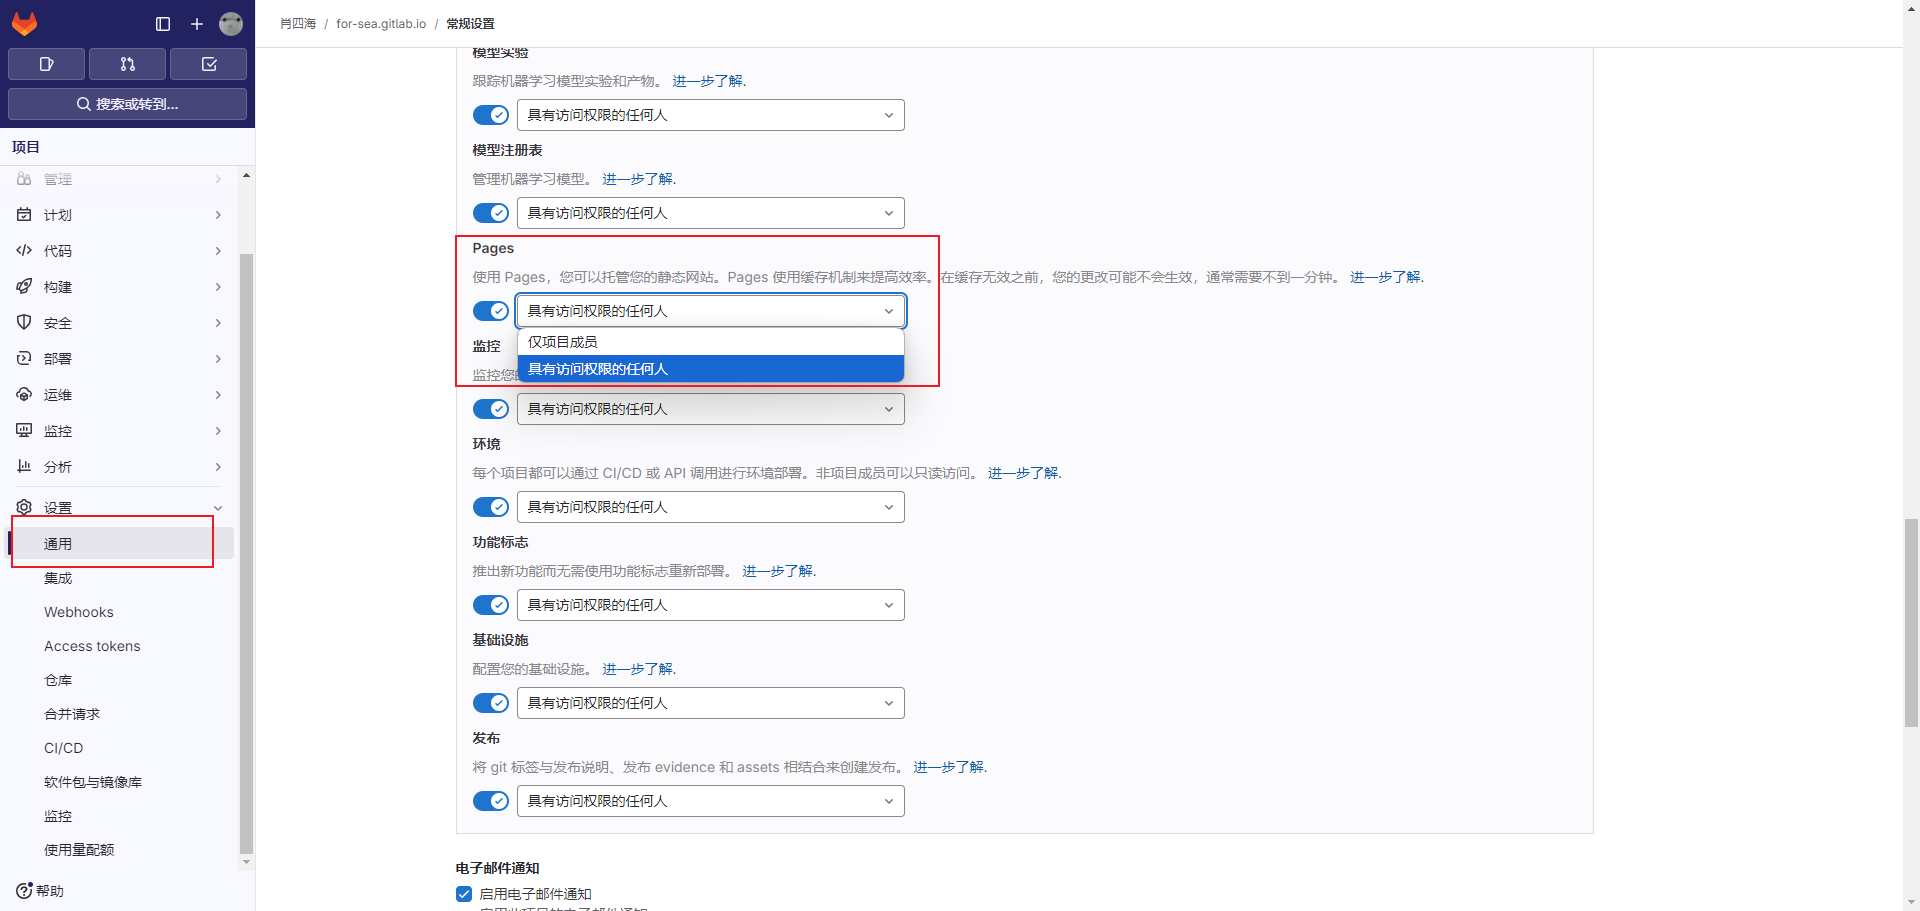
如果通过网页访问时,需要登录GitHub账号,则需要修改访问权限设置。
进入博客项目-->设置-->通用-->可见性,项目功能,权限-->Pages,修改为具有访问权限的任何人,如下:
5. 更新博客
使用Markdown格式编写博客,编写完成后保存到Blog根目录\source\_posts中,再用git提交即可:
1 | git add . |