Hexo博客02-设置NexT主题
本文介绍如何为Hexo安装NexT主题以及常用的美化设置。
参考文档:
HEXO-NEXT-主题美化
从零开始搭建 Hexo 博客简明教程(2024版)
1. 安装NexT主题
主题预览:
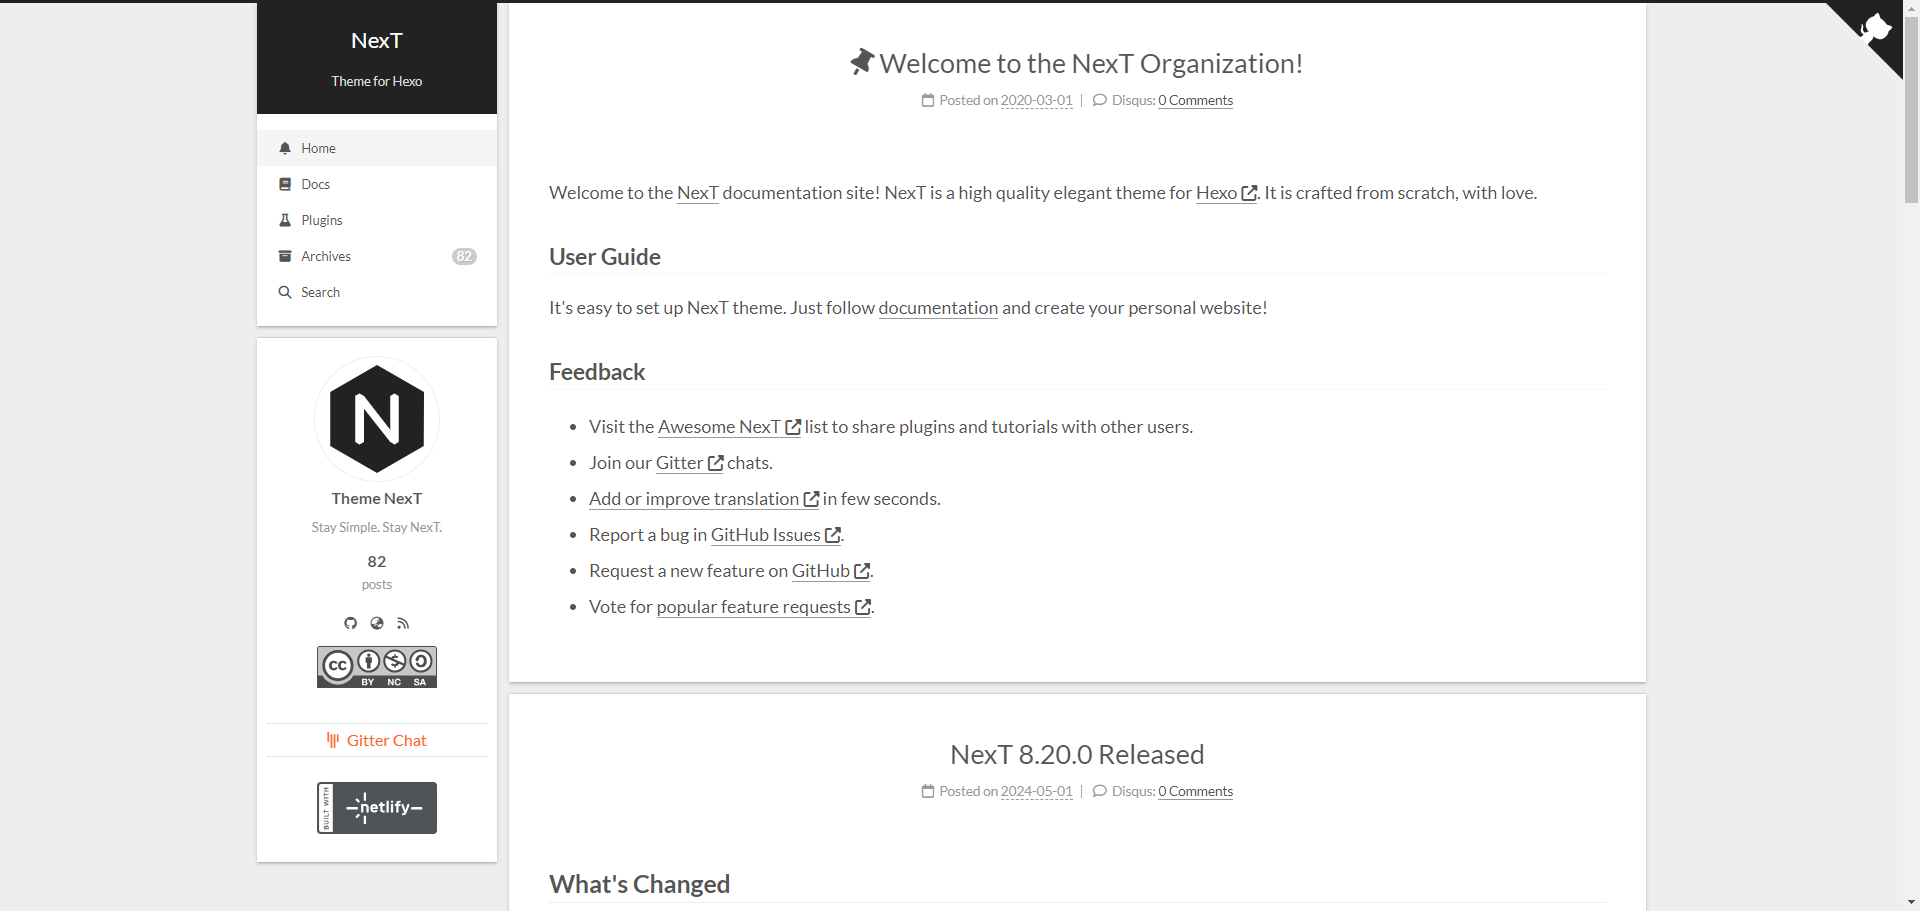
进入主题的GitHub地址:next-theme/hexo-theme-next: 🎉 Elegant and powerful theme for Hexo. (github.com)
下载主题
从Github上下载Source Code,并解压到Blog根目录下的
theme目录

修改配置
打开Blog根目录下的
_config.yml文件,修改theme配置为主题为文件夹名。
本地启动
打开命令行窗口或git bash,进入Blog根目录,依次输入
hexo g、hexo s,启动本地的Hexo博客: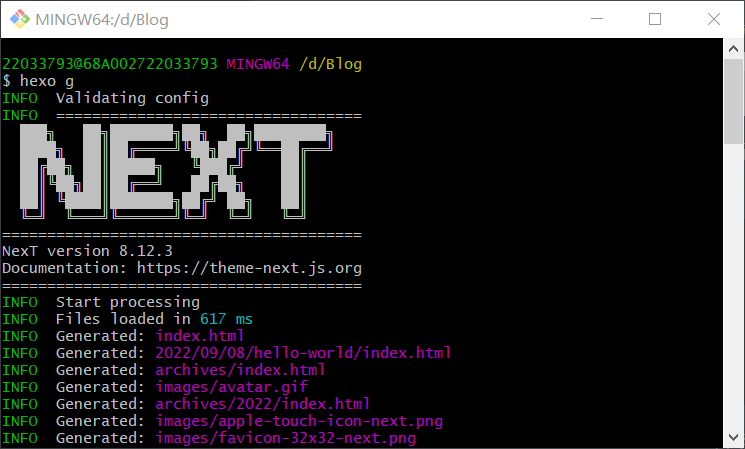

查看效果
启动完毕后在浏览器输入
localhost:4000,查看博客效果:
可以看到主题已经修改好了。
NexT主题内部还有其他配置,可以修改之后更改样式,具体配置可以查看其他教程或者参考其官方仓库的文档。
NexT使用文档:NexT 使用文档 (iissnan.com)
提交代码
最后提交到远程仓库,查看博客在线效果。
2. 站点配置文件
打开站点配置文件:Blog–>_config.yml
2.1 设置语言
将language设置为zh-CN。
2.2 设置作者昵称
将author设置为自己想要的昵称。
2.3 设置站点描述
设置description,可以是自己喜欢的一句话或者签名。
3. 主题配置文件
打开主题配置文件:Blog–>theme–>主题文件夹–>_config.yml
3.1 选择主题样式
现版本的NexT提供了四种主题样式:
1 | # Schemes |
Muse:默认主题样式,黑白主调,大量留白。
Mist:Msue的紧凑版本。
Pisces:左边显示侧边栏,右边为博客列表。
Gemini:Pisces的紧凑版本。
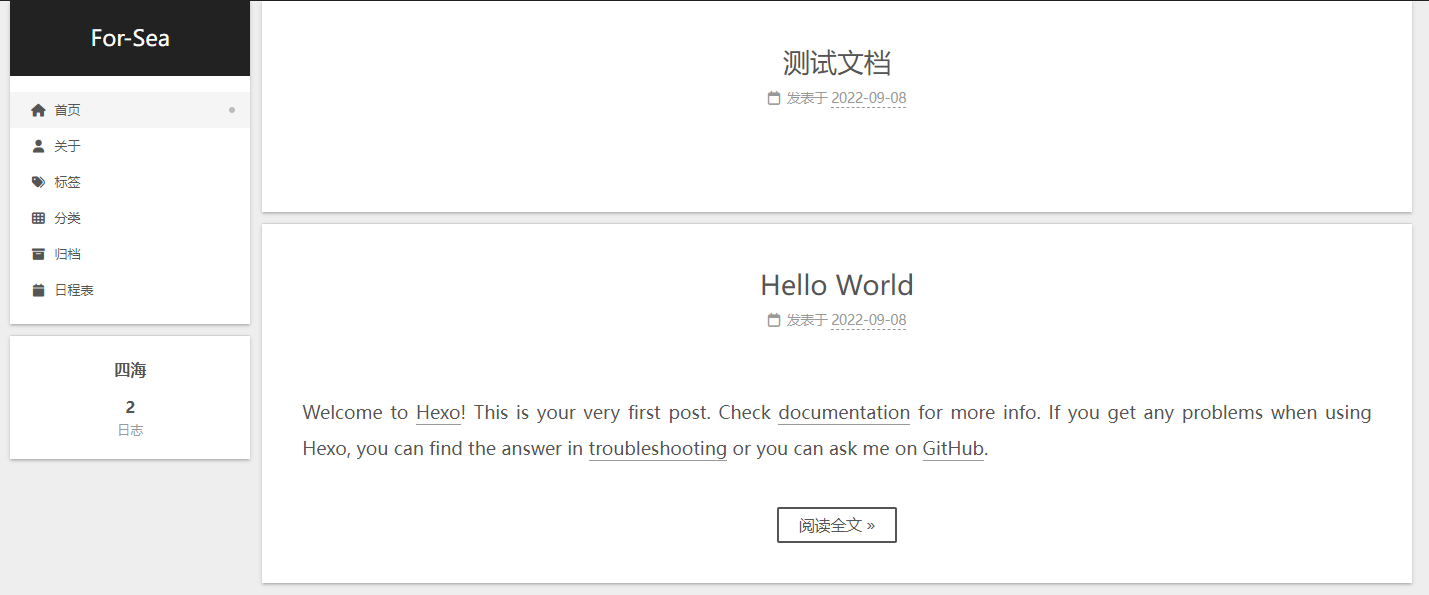
这里我选择的是Gemini,效果图如下:
3.2 设置菜单
在menu字段进行设置,格式为item name: link || icon,这个item name不是用来显示菜单名称的,而是用来匹配菜单项的显示文本和图标。link为菜单对应的目录,双竖线之后的是菜单对应的icon图标名。
示例如下:
1 | menu: |
添加了上述配置后,还要为每个菜单项新建一个页面,使用命令hexo new page "菜单项",否则找不到该页面。

添加页面:
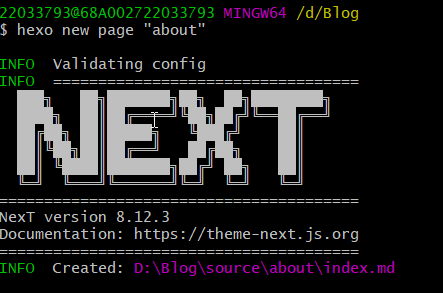
添加完毕后可以在Blog\source\目录下看到新建的文件夹:

打开新建的文件夹,里面有一个index.md,需要打开该文件,增加一个type项,值为菜单项,之后的文档才能根据菜单项进行分类。

打开菜单项图标:将menu_settings字段下的icons属性改为true。
完成后的效果如下:

3.3 设置头像
修改字段 avatar, 值设置成头像的链接地址。链接地址可以是完整的互联网URI,或者放置在 source/images/ 目录下配置为:avatar: /images/avatar.png
1 | avatar: |
3.4 设置网站logo
修改字段favicon,将其下的设置改为自己选择的网站logo的链接地址,同样可以使用URI或者文件夹中的图片地址。
1 | favicon: |
3.5 设置footer
修改字段footer,将其中的powered属性改为false。
3.6 显示浏览进度
修改字段scrollpercent,将其改为true。
3.7 显示加载特效
搜索pace,将enable字段改为true,并选择自己想要的加载特性。
3.8 代码复制
搜索copy_button,将其中的copy_button改为true。
3.9 设置图片缩放
搜索fancybox,设置为true。
3.10 设置字体
主题配置文件中有一段关于字体的配置:
1 | font: |
3.11 设置短链接
设置短链接可以更方便地让百度或谷歌等搜索引擎收录我们的博客链接。
方案一:使用Abbrlink插件
使用Abbrlink插件,会在使用hexo g"命令时在Front Matter(前文)中生成一个abbrlink字段,在站点配置文件中通过设置可以拼接该字段,形成短链接。
在Blog根目录执行以下命令:
1 | npm install hexo-abbrlink --save |
在站点配置文件中搜索permalink,修改为如下设置(没有则自己添加):
1 | #设置永久链接 |
Abbrlink插件使用不同的算法和进制生成的链接示例如下:
1 | crc16 & hex |
方案二:手动添加urlname
先在Blog根目录的scaffolds下的post.md中添加一个urlname字段,然后每次创建新博客时手动设置urlname:
1 | title: {{ title }} |
在主题配置文件中搜索permalink,修改为如下设置:
1 | #设置永久链接 |
则生成的链接会变成https://for-sea/{category}/{urlname}.html,便于生成Sitemap。
如果分类使用中文命名但不希望地址中出现中文的话,可以给分类设置别名。在站点配置文件中找到category_map字段,在其下设置别名:
1 | default_category: others |
如果使用了<!-- more -->标签,会导致进入详情页面后网站最后出现#more的字段,可以打开Blog根目录下的themes\hexo-theme-next-8.13.0\layout\_macro\post.njk,删除#more字段去除:

3.12 去除自动标号
NexT主题会自动为文档的标题添加序号,但是我们写文档时通常会自己手动添加序号,就会显得很奇怪:
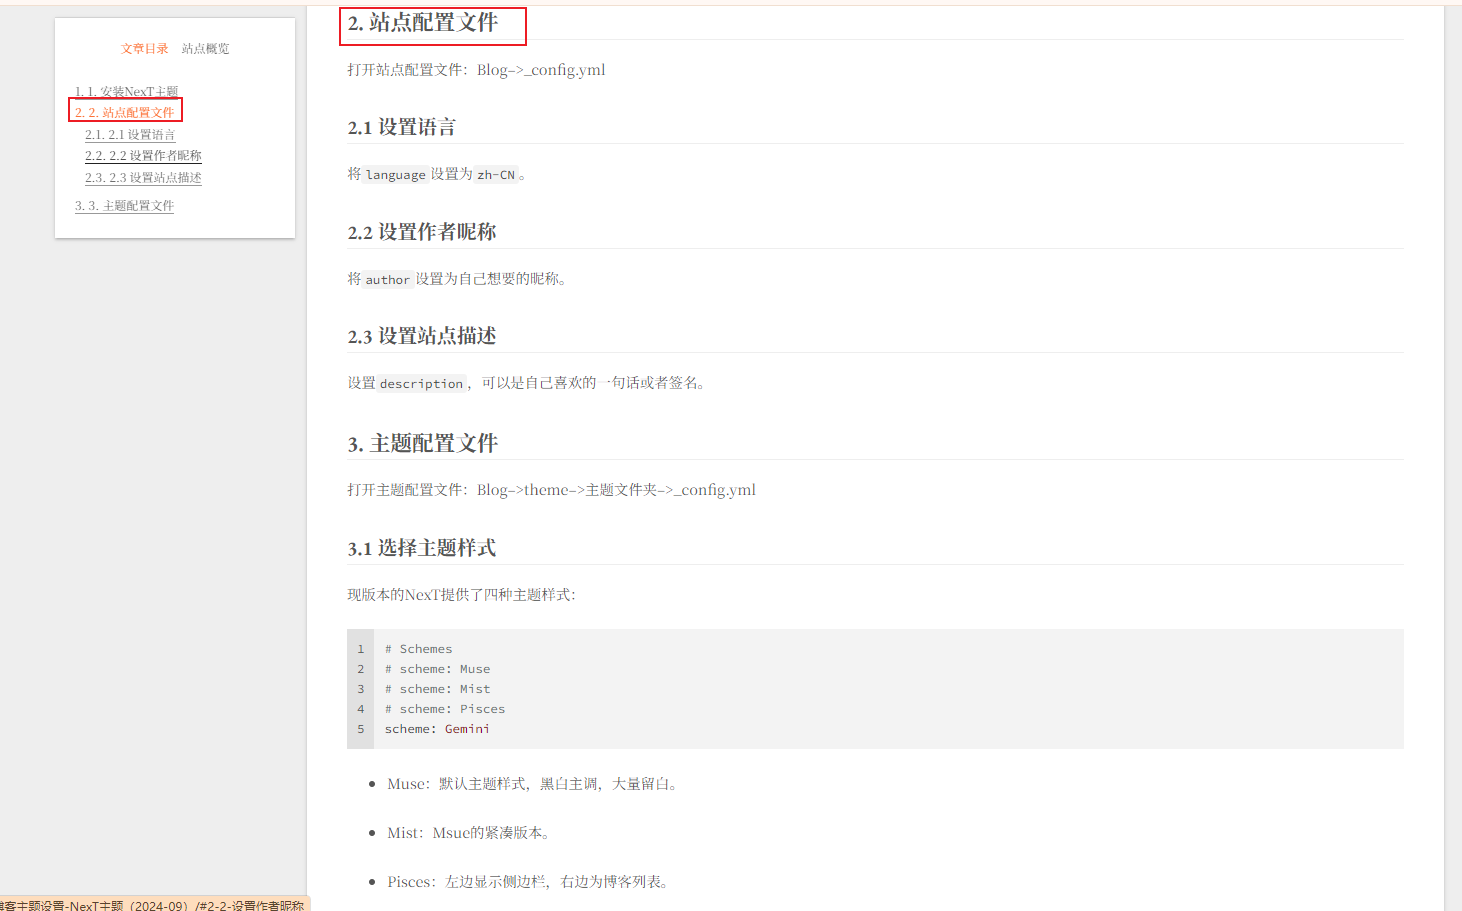
在主题配置文件中搜索toc,将number改为false。
1 | # Table of Contents in the Sidebar |
3.13 背景图片设置
在_data目录下新建styles.styl文件
3.14 设置透明化
4. 搜索功能
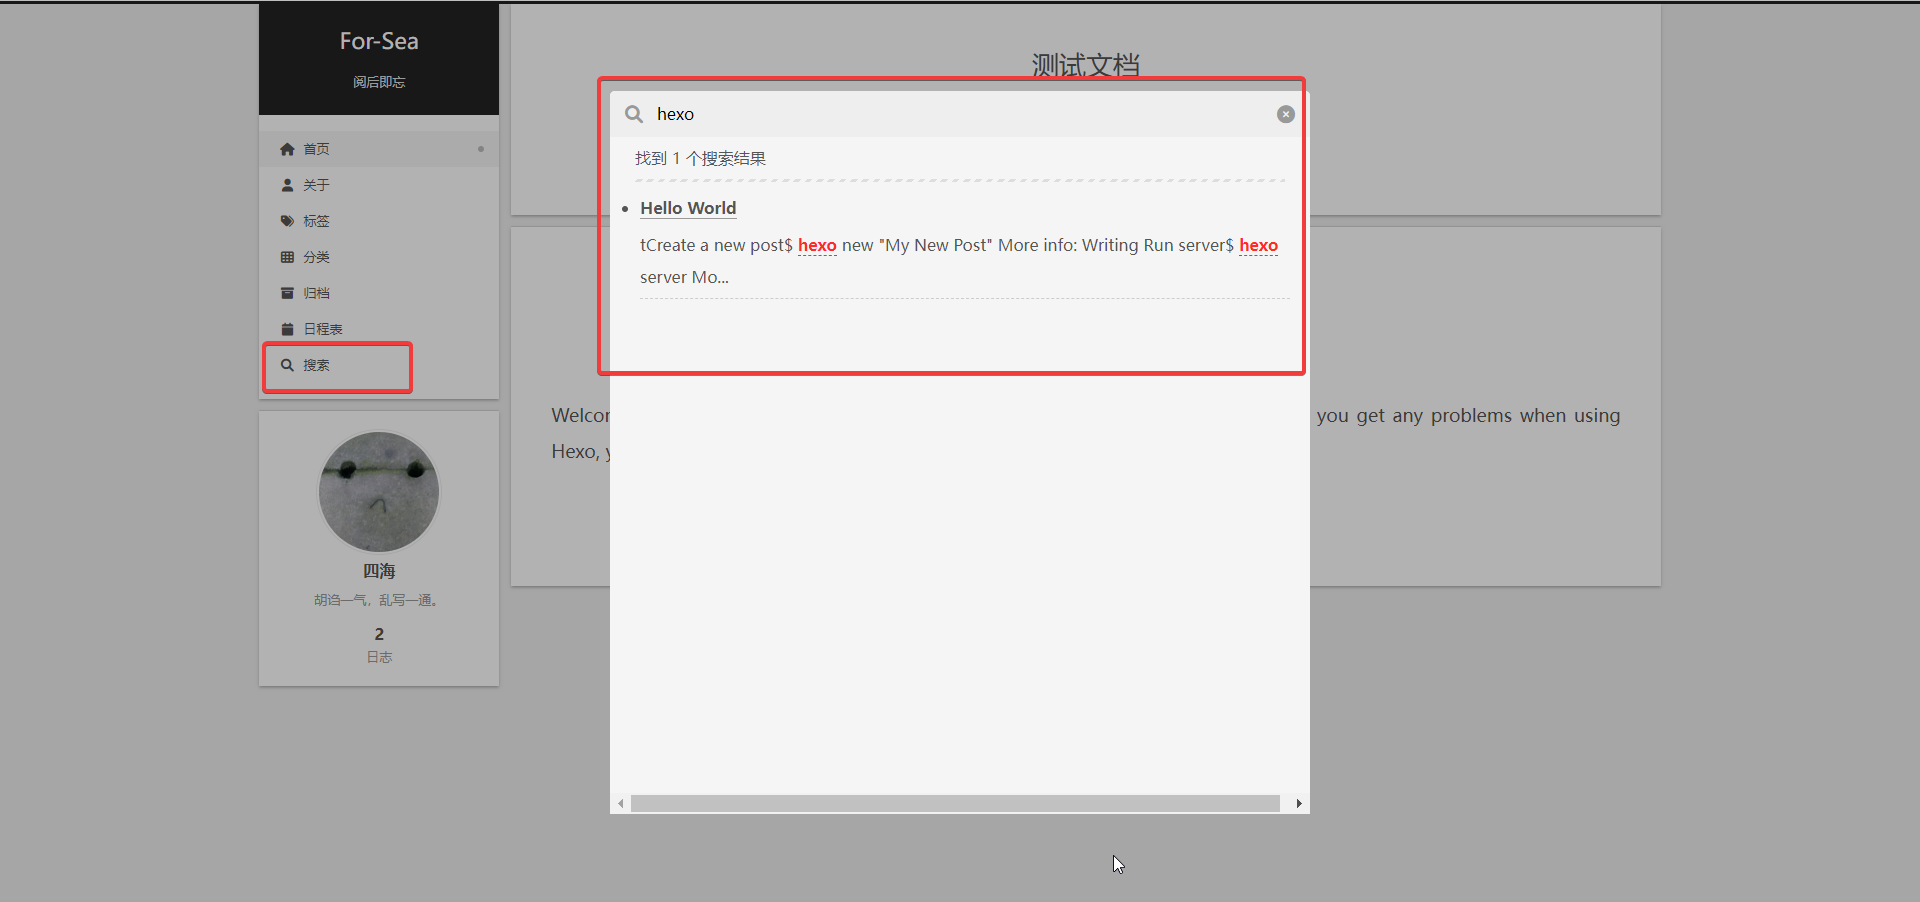
为博客添加搜索功能,能够快速查找文章。
安装
hexo-generator-searchdb,在站点的根目录下执行以下命令:1
npm install hexo-generator-searchdb --save
编辑
站点配置文件,新增以下内容到任意位置:1
2
3
4
5search:
path: search.xml
field: post
format: html
limit: 10000编辑
主题配置文件,启用本地搜索功能:1
2
3# Local search
local_search:
enable: true搜索功能效果测试
5. 数据统计
不蒜子访客、浏览数据
编辑
主题配置文件中的busuanzi_count的配置项。当enable: true时,代表开启全局开关。1
2
3
4
5
6
7
8busuanzi_count:
enable: true # 设true 开启
total_visitors: true # 总阅读人数(uv数)
total_visitors_icon: user # 阅读总人数的图标
total_views: true # 总阅读次数(pv数)
total_views_icon: eye # 阅读总次数的图标
post_views: true # 开启内容阅读次数
post_views_icon: eye # 内容页阅读数的图标文章字数、阅读时长
设置完毕后在本地查看不了,需要提交后在线查看。
安装
hexo-generator-searchdb,在站点的根目录下执行以下命令:1
npm install hexo-word-counter
编辑
站点配置文件,新增以下内容到任意位置:1
2
3
4
5
6
7
8
9
10#文章字数与阅读时长统计
symbols_count_time:
symbols: true # 文章字数统计
time: true # 文章阅读时长
total_symbols: true # 站点总字数统计
total_time: true # 站点总阅读时长
exclude_codeblock: false # 排除代码字数统计
awl: 2 # 每个单词所占字符数,中文建议设置为2,英文建议设置为4
wpm: 300 # 每分钟阅读单词数,中文建议设置为300,英文建议设置为275
suffix: "mins" # 时间单位更改
主题配置文件中配置:1
2
3
4symbols_count_time:
separated_meta: true
item_text_post: true
item_text_total: true #底部footer是否显示字数统计属性文字(如站点总字数,站点阅读时长 ≈ 1 分钟)
5. 编写博客
5.1 新建博客
在D:\Blog\scaffolds\post.md文件中编写模板:
1 |
|
- title:文章标题
- date:建立日期
- updated:更新日期
- comments:文章评论功能,true or false
- tags:标签
- categories:分类
- urlname:自定义字段,表示文章URL
再使用hexo n [文章标题]新建Markdown文件,再打开文件进行编写即可。